Getting started
Edit Markdown notes in your browser, on top of a GitHub repo you own. When the same note changed in two places, you see every conflict line by line and pick yours, theirs, or both. The merge UX from VS Code, in the browser, on your repo.
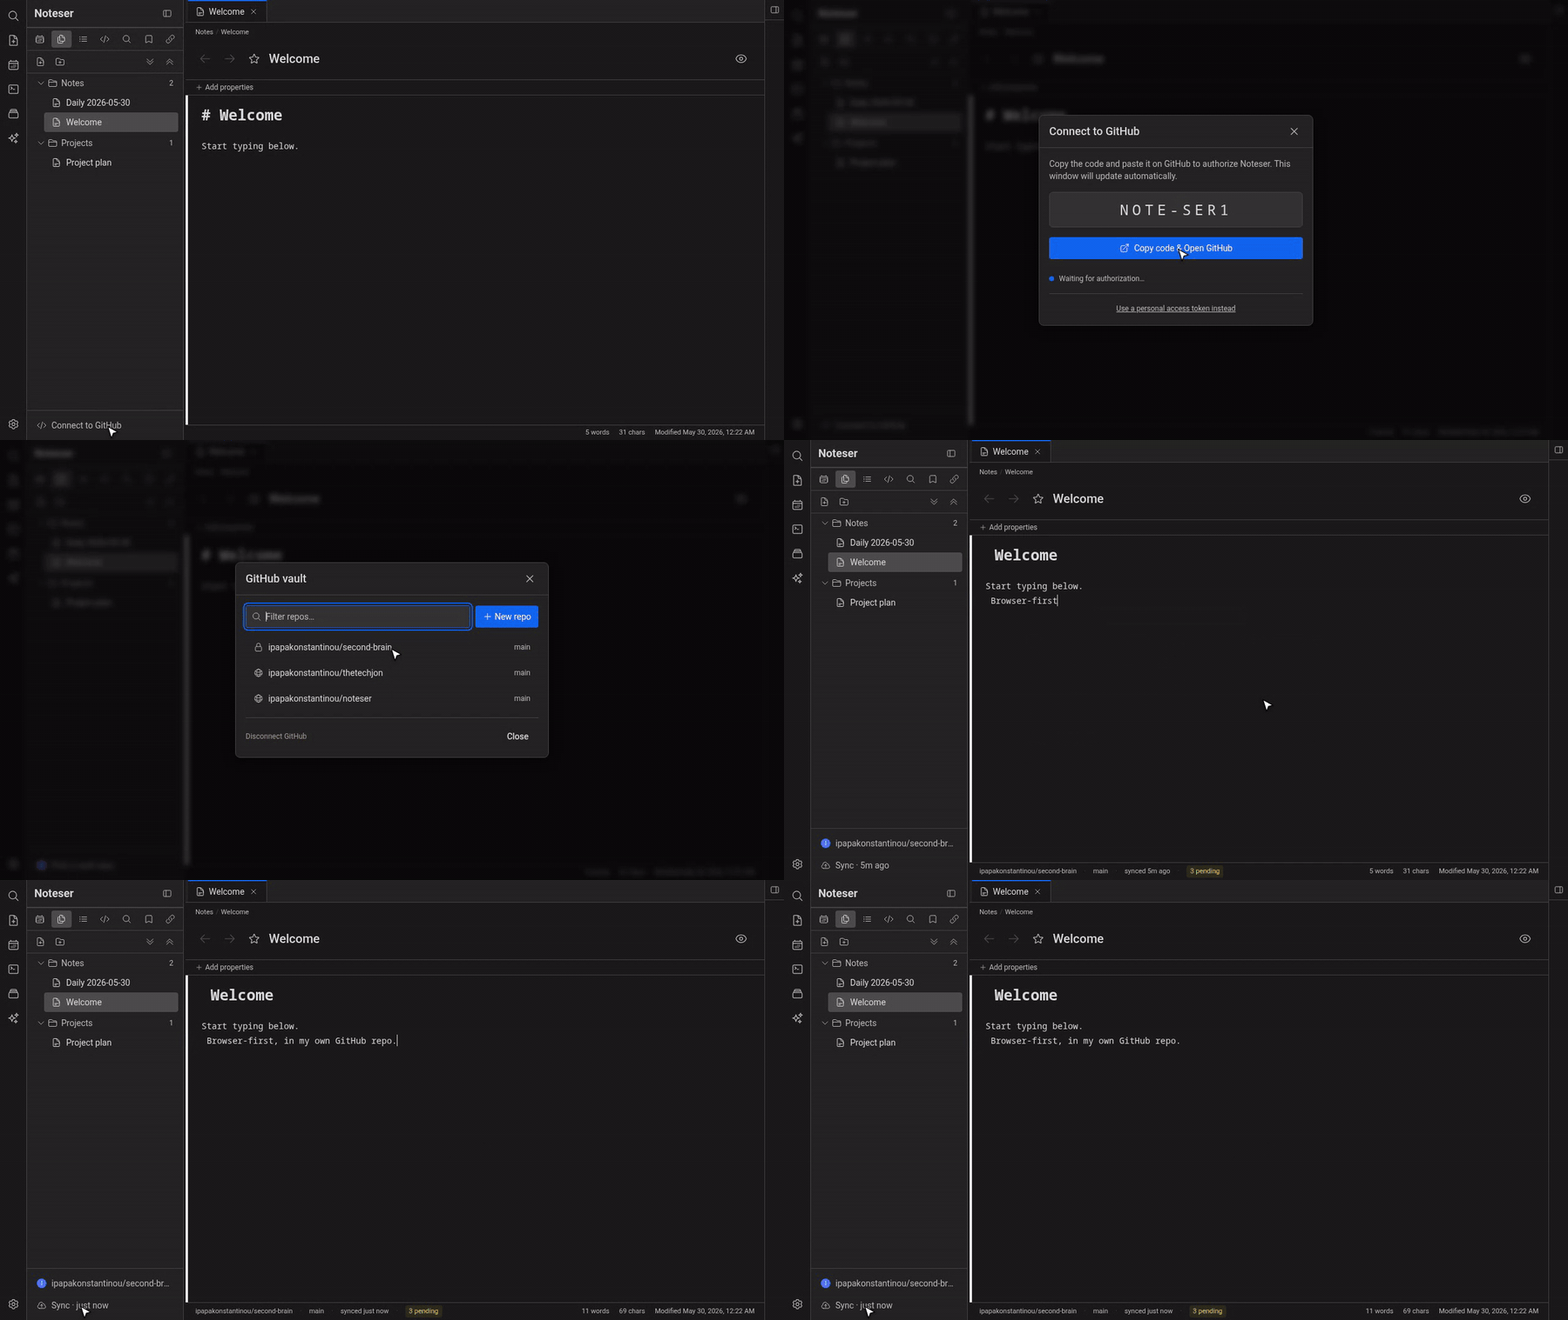
Live-preview editing with wikilinks, tags, and tasks.
Your first note
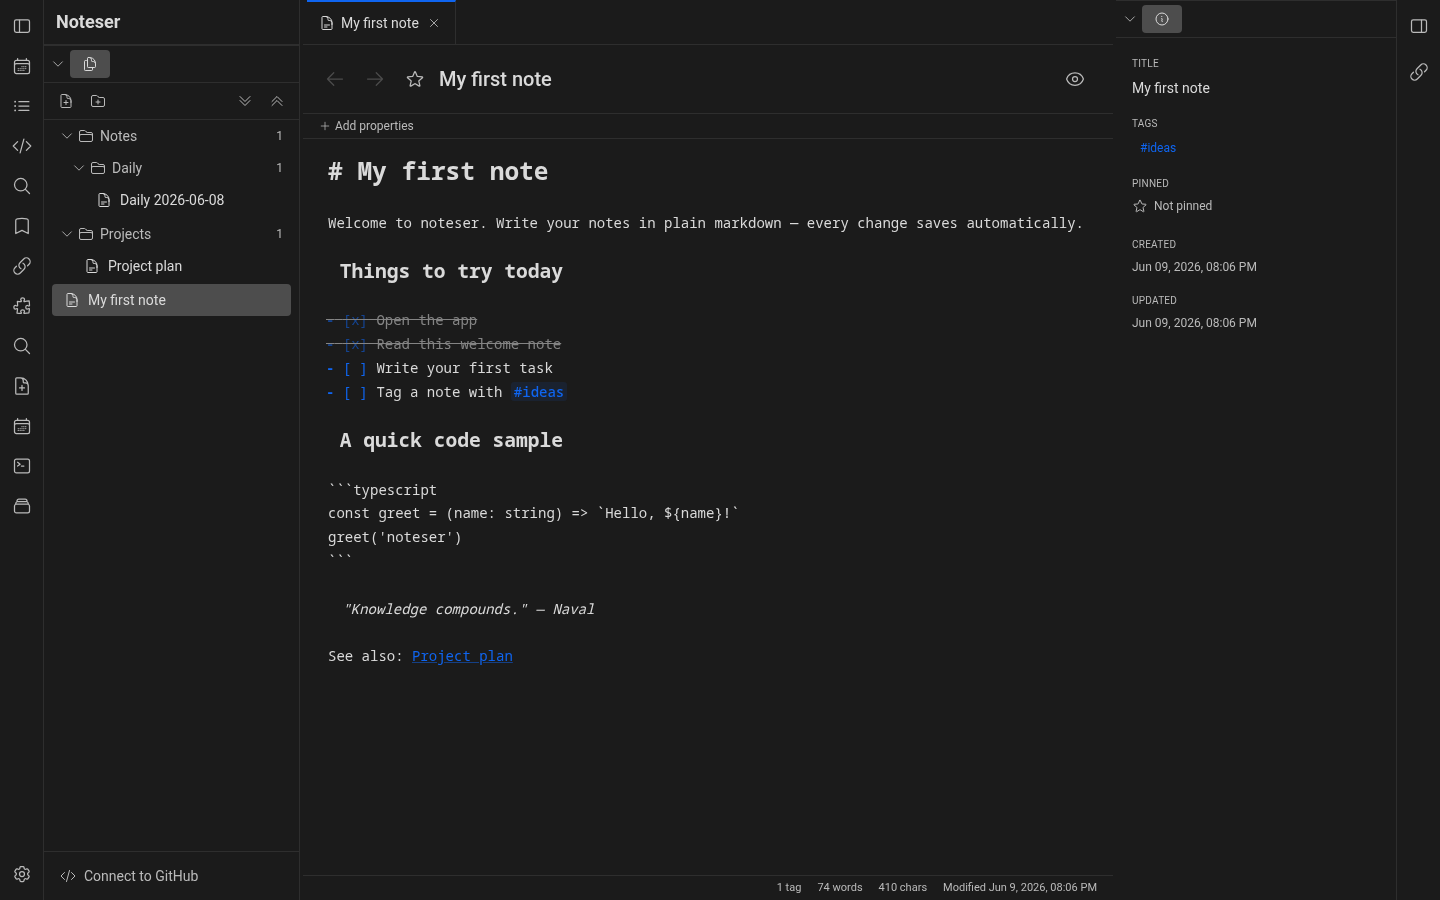
- Press
Alt+Nto create a new note, or click the New note button in the file tree toolbar. - Type a title at the top, then markdown content below.
- Notes save automatically — there's no Save button.
The layout
- Left ribbon — quick actions (New note, Today's daily note, Command palette, Templates) + Settings.
- Left sidebar — a tab strip with Files / Calendar / Outline / Source Control / Search / Bookmarks / Related notes. Drag a tab up to pin it permanently.
- Editor — the main writing area. Each tab is one note.
- Right sidebar — Properties panel for the active note (title, tags, pinned, file path, timestamps). Click the toggle on the far-right edge to expand.
Markdown basics
Noteser renders standard markdown plus a few extensions:
- Wikilinks —
[[Note title]]links to another note in your vault. - Tags —
#projects #urgentanywhere in the body. The right sidebar surfaces them. - Task lines —
- [ ] somethingbecomes a clickable checkbox. - Fenced tasks —
\``tasks ... ```` queries tasks across notes.
Keyboard shortcuts
A few essentials — full list under Settings → Shortcuts:
Ctrl+K— open searchCtrl+F— find in current note (Ctrl+Hfor find-and-replace)Ctrl+Alt+T— insert a markdown table at the cursorAlt+N— new noteCtrl+Shift+N— new folderCtrl+E— toggle preview modeCtrl+B— toggle sidebarCtrl+,— open settingsAlt+W— close current tab
Press Ctrl+/ any time to see the shortcuts modal. For deeper dives on
each editor power feature see Editor power features.